Sending Emails
Learn how to send emails from with Thin Functions

1. Introduction
This guide covers how to send emails from your Thin Backend application. We will use a simple use case: Sending a welcome email to new users after they signed up to our app.
The general gist of sending an email is to add a Thin Backend Function that is triggered on new rows in the users table. In the function we will use a `nodemailer` to send out the email.
2. Setting up a Function
Open Functions and click + to create a new Function.

Use Send Welcome Email as the Function name and then click Create function

3. Setting up a Trigger
Next we need set up a trigger that calls our function for every new user that is created in the database:
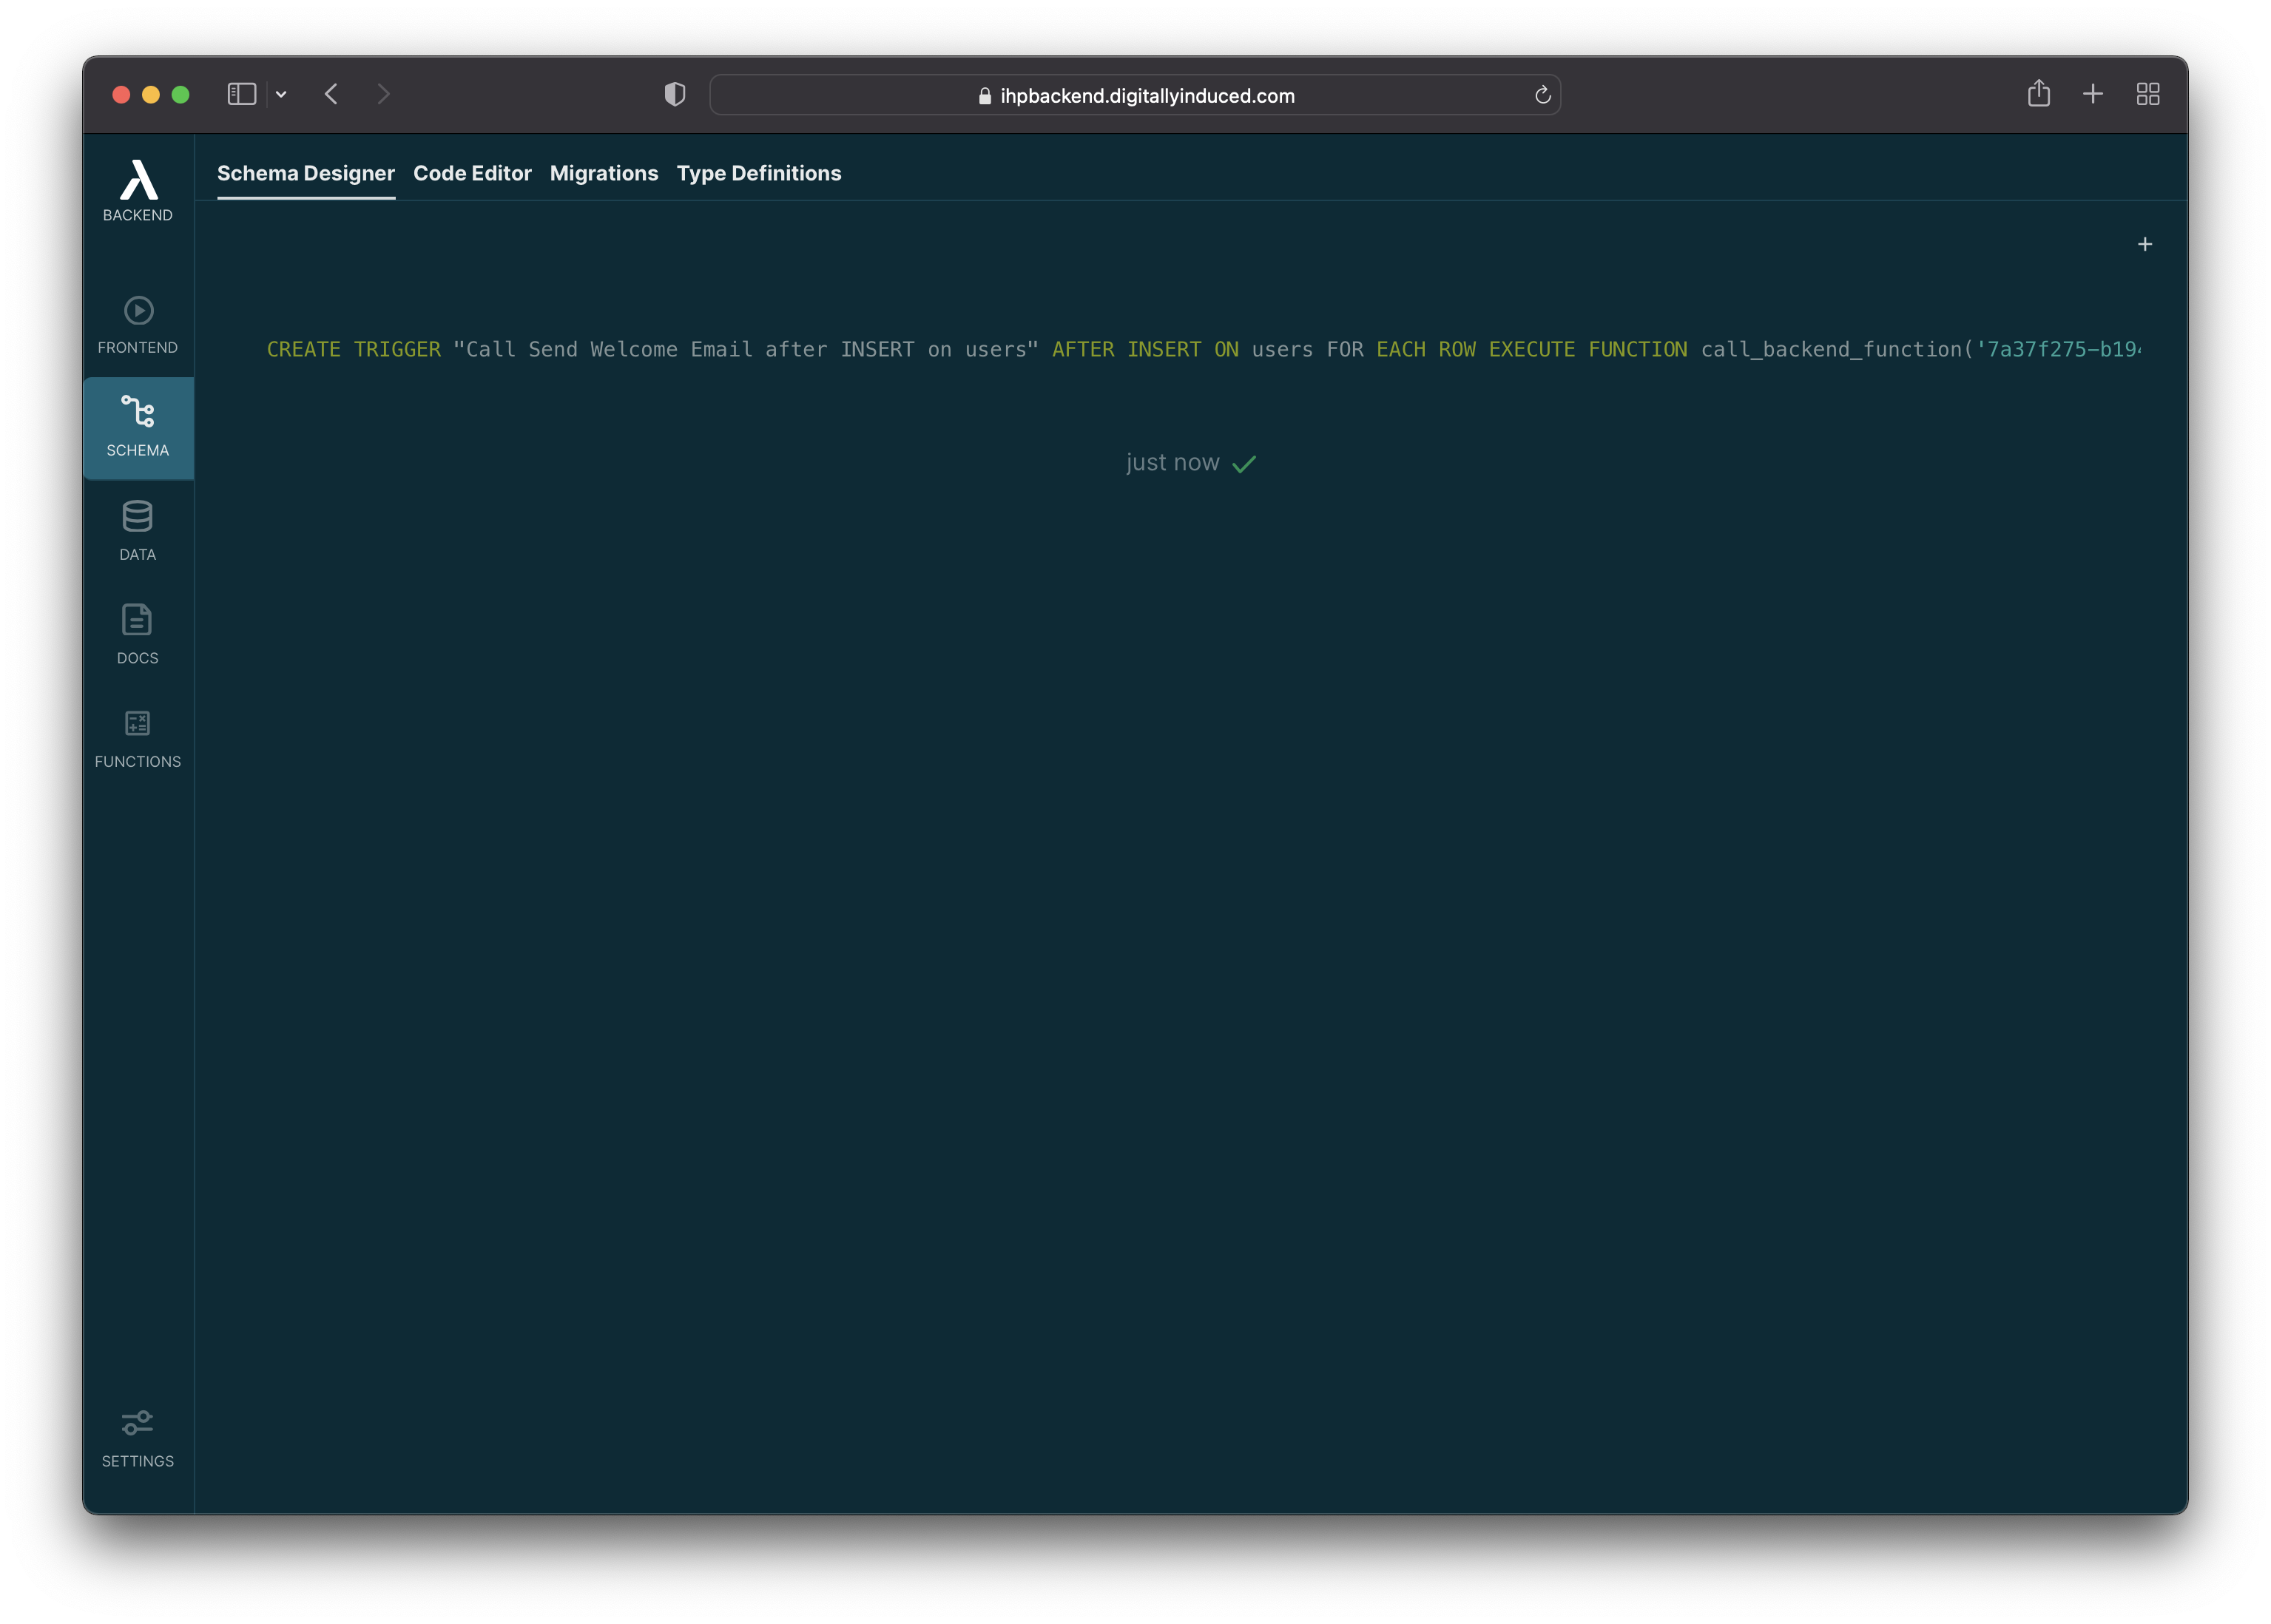
Click
Add Trigger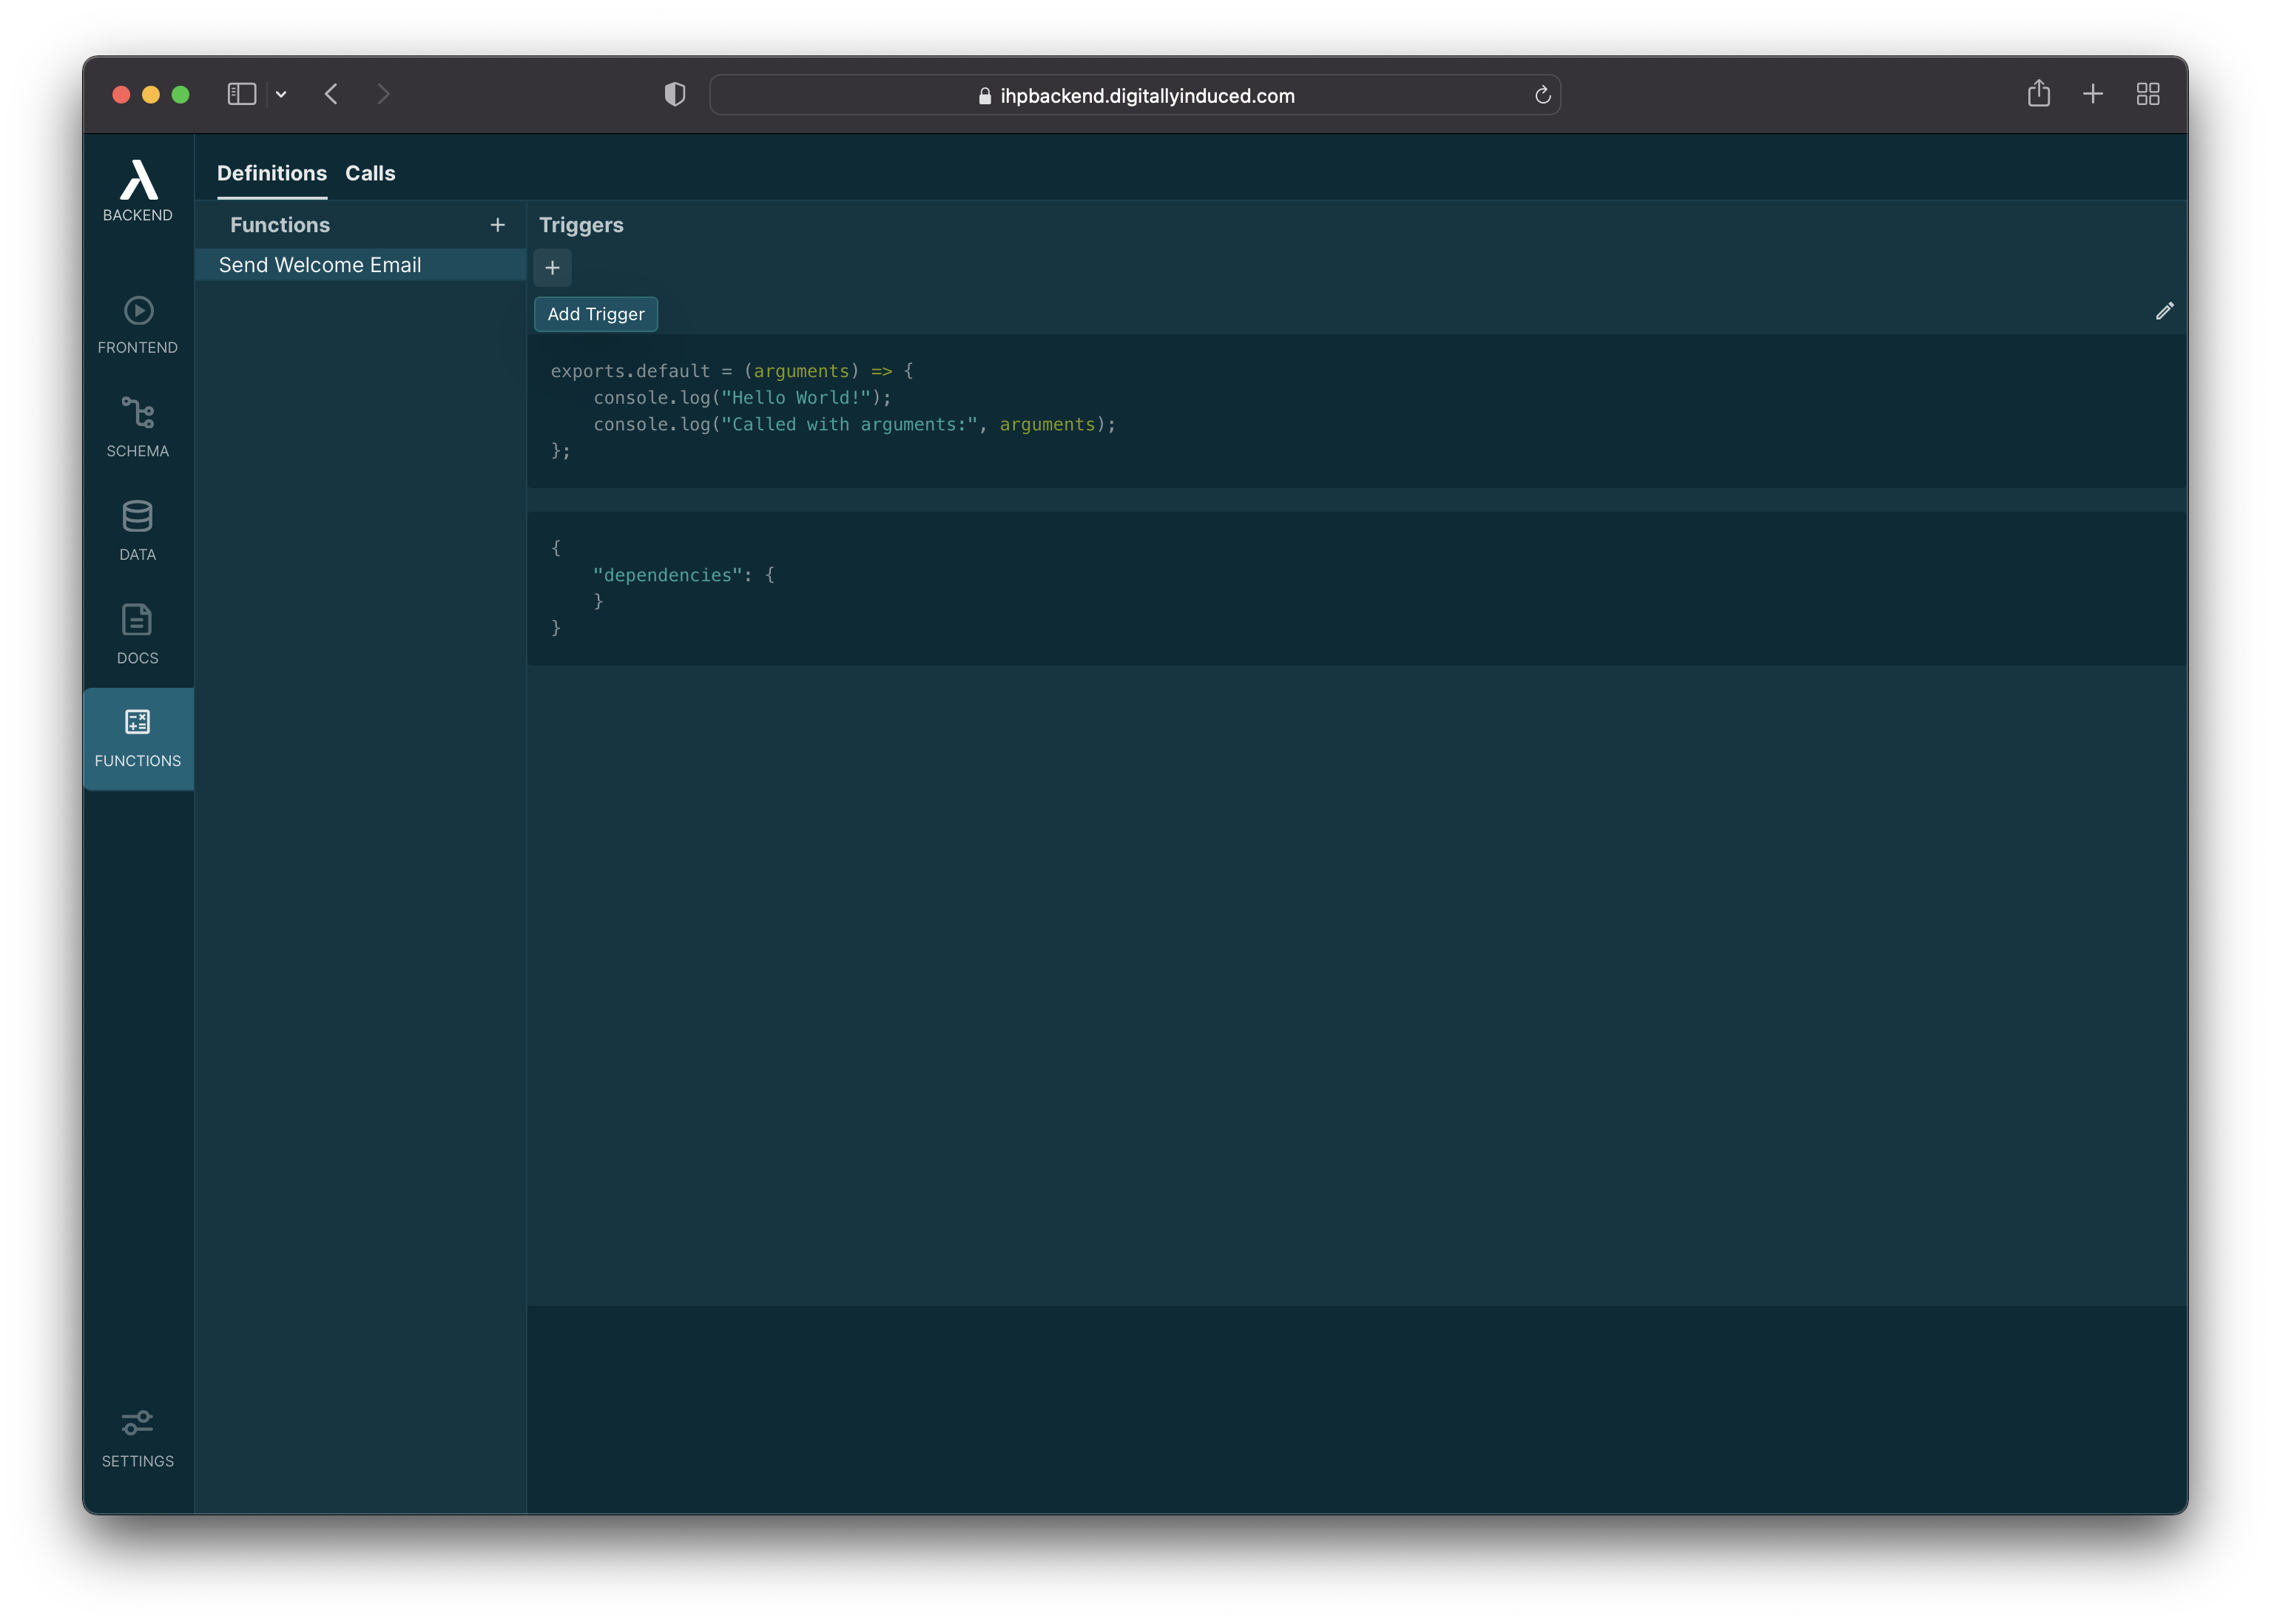
Set the trigger event to
Insert. Then select theuserstable in the dropdown.
After that click
Create Trigger.
Before the trigger is activated, we need to run a migration:
Open the Schema Designer and click
Migrate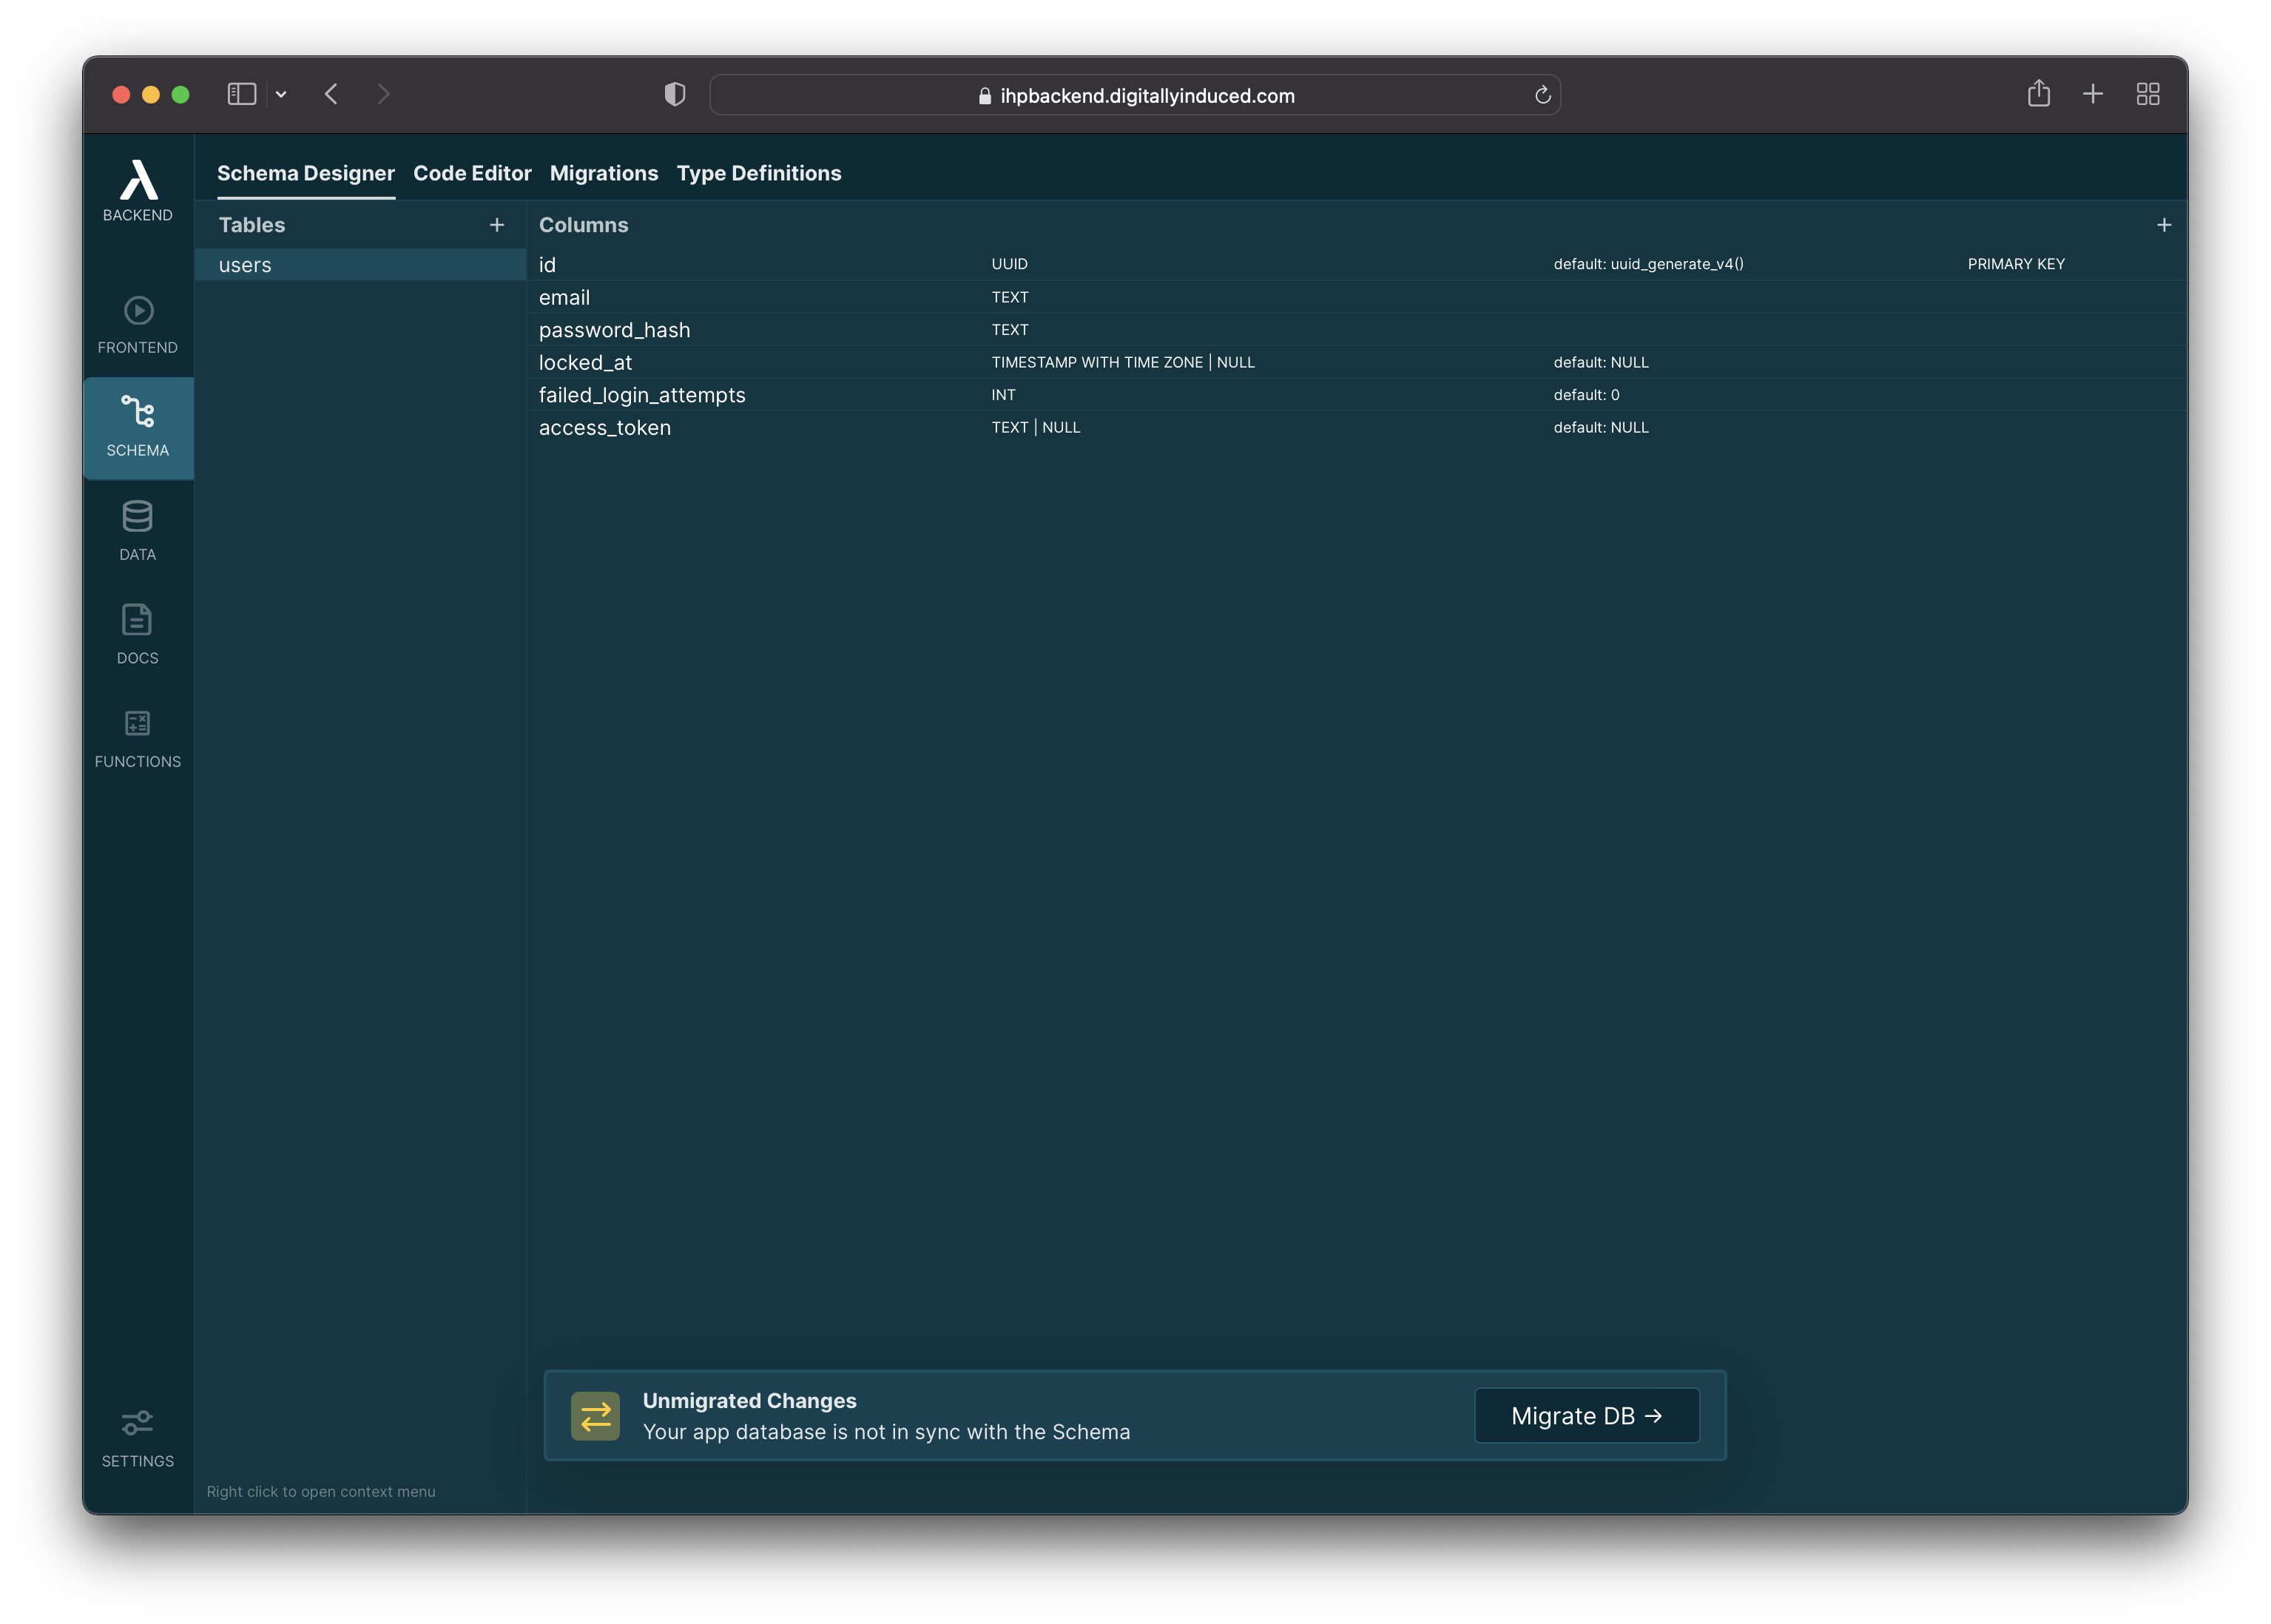
Run the previewed Migration:

4. First Run
Now our function is ready to be called. We still have to implement the email sending functionality, but let's quickly try to call the function for the first time.
Open your frontend, and register a new user:

After you've signed up, open Functions → Calls. There you can see the first call that has been triggered for our Send Welcome Email:

You can see that the user database record has been passed to our function. This is very useful because we need the user's email when we want to implement the email sending logic in the next step.
5. Sending Email
Go back to the Function Definitions by clicking Definitions at the top of the page.
To implement our email sending logic, click on Edit:

We're going to use nodemailer for sending out the email. Add nodemailer as a dependency to package.json:
{
    "dependencies": {
        "nodemailer": "6.7.2"
    }
}
Next we will follow the nodemailer documentation to send out email. Add this to the function.js editor:
const nodemailer = require("nodemailer");

exports.default = async (user) => {
    // Replace this with your custom SMTP server
    // See https://nodemailer.com/smtp/
    let testAccount = await nodemailer.createTestAccount();
    let transporter = nodemailer.createTransport({
        host: "smtp.ethereal.email",
        port: 587,
        secure: false, // true for 465, false for other ports
        auth: {
            user: testAccount.user, // generated ethereal user
            pass: testAccount.pass, // generated ethereal password
        },
    });

    let info = await transporter.sendMail({
        from: '"My App" <myapp@example.com>', // sender address
        to: user.email,
        subject: "Welcome to My App",
        text: "Thanks for signing up! Here's a couple of links to get you started: ..."
    });

    console.log("Message sent: %s", info.messageId);

    // Preview only available when sending through an Ethereal account
    console.log("Preview URL: %s", nodemailer.getTestMessageUrl(info));
};

We're using nodemailer's etheral email test serivce. Have your own SMTP server ready? Change the code according to use your own SMTP server. Check out the nodemailer documentation if you do this the first time.
6. Testing
Our email function is ready now. To test it out open the frontend app again, and register for a new account in your app.
This will trigger another call to our Send Welcome Email Function.

If you used the above ethereal email testing service, you will see a preview in the result. If you have configured your real SMTP server, check your email inbox. Either ways, the welcome email has been sent.
7. Summary
In this Guide you've learned how to create Thin Backend Functions, set up Triggers and use this to send Emails to your users.
Community
If you need any help or input, feel free to ask in the Thin Community Forum.